To prepare for a hiking trip, start training your body a few weeks out, break in your boots early, pack the right gear, plan your food and water, and book any permits ahead of time. Small steps now save you big problems on the trail later.
You are not alone in wanting to hit the trail. In 2025, 63.6 million Americans went hiking. That made it the most popular outdoor activity in the country, part of a record 183.2 million people who got outside that year. Hiking is having a real moment.
But joining the crowd is the easy part. What turns a trip into a great memory, instead of a painful slog, is what you do before you ever reach the trailhead.
How to Train Your Body for the Trail
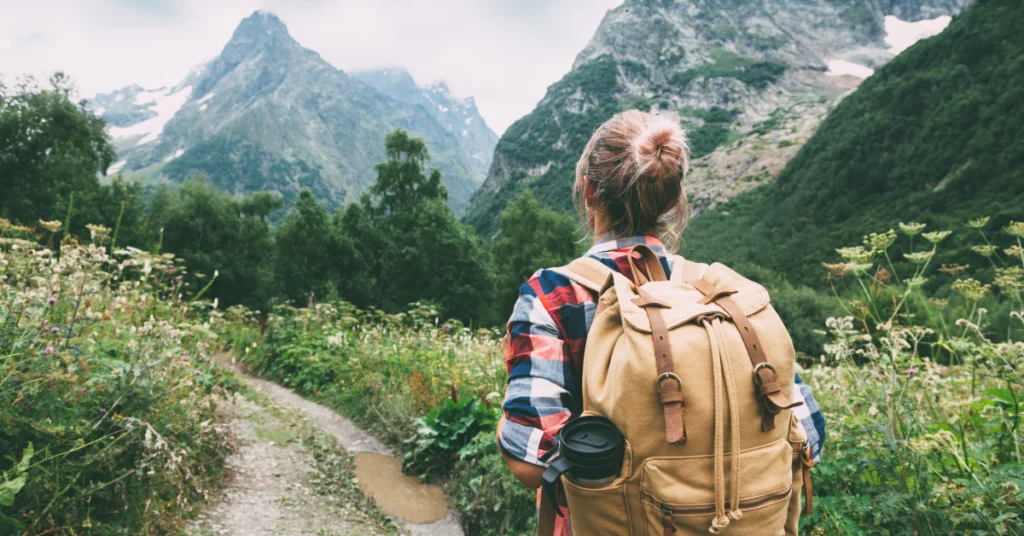
Your body needs time to get ready for hiking. How much time depends on the kind of trip you’re planning.
Day Hike vs. Multi-Day Trek
A short day hike on flat ground does not need much training. A few weeks of regular walking is often enough.
A multi-day trek is a different story. You will carry more weight for longer hours, day after day. This is where real training matters most. If you’re wondering how to train for a long hiking trip, give your body real lead time, not a last-minute scramble.
An 8-Week Training Plan That Works
REI, the outdoor gear co-op, recommends starting your training eight weeks before a big trip. Here is how the weeks break down:
- 2 strength days (nonconsecutive), working your legs and core
- 2 rest days (nonconsecutive), so your muscles can recover
- 3 cardio days (nonconsecutive), like walking, biking, or jogging
Keep this routine going until about two weeks before your trip. Then it’s time to shift gears.
The Two-Week Switch
Two weeks out, swap your cardio sessions for long day hikes. Aim for 60 minutes or more, wearing a loaded pack. Fill that pack with about 80% of the weight you plan to carry on your actual trip.
This step matters more than people think. It’s one thing to train your muscles. It’s another to train your body to carry real weight for real hours. Add a fourth hiking day during this stretch too, stacked onto one of your strength days.
In the day or two right before you leave, ease off entirely. Let your body rest and store up energy for the trip ahead.
Budget Your Time, Not Just Your Steps
If you’re preparing for a hiking trip physically, training is only half the equation. You also need to plan your time correctly on the trail itself.
Many hikers make the same mistake. They look at the distance down a trail and assume the hike back up will take the same amount of time. It will not.
The National Park Service has a simple rule for this, based on hiking the Grand Canyon: budget about one-third of your time to go down, and two-thirds of your time to come back up. Going downhill is fast. Climbing back out, especially with a loaded pack, takes much longer and costs far more energy.
This rule applies well beyond the Grand Canyon. Any hike with a steep descent followed by a climb back out deserves the same math. Underestimating the return trip is one of the most common ways hikes go wrong, so build in that extra time before you even lace up.
The 1-Week Panic Plan: Last-Minute Prep
Maybe you don’t have two months. Maybe you have seven days. That’s okay. You can still get ready, you just have to be smart about where you spend your time.
First, forget any plan that asks for weeks of strength training. One week won’t build new muscle. Instead, focus on three things: your feet, your pack, and your hydration.
Deal With Your Feet First
This is the most urgent decision you’ll make. Break-in time depends heavily on the boots you own.
- Synthetic trail shoes: need about 5 to 20 miles to break in
- Full-grain leather boots: need about 30 to 100 miles, and experts recommend starting the process 2 to 8 weeks ahead
If you just bought leather boots, you are out of time. Wearing them straight out of the box on a long hike is a fast way to end up with painful blisters. Your safer bet is a pair of trail runners, or your most reliable, already broken-in sneakers. Comfort beats style this week.
Pack Smart, Not Slow
Lay out your gear now instead of the night before. Test anything you haven’t used, like a headlamp or a water filter. A quick check now saves a bad surprise on the trail.
Start Hydrating Early
Don’t wait until the morning you leave. Drink plenty of water for the next few days. Your body performs better on the trail when it starts the hike already hydrated, not playing catch-up.
Gearing Up & Packing Right
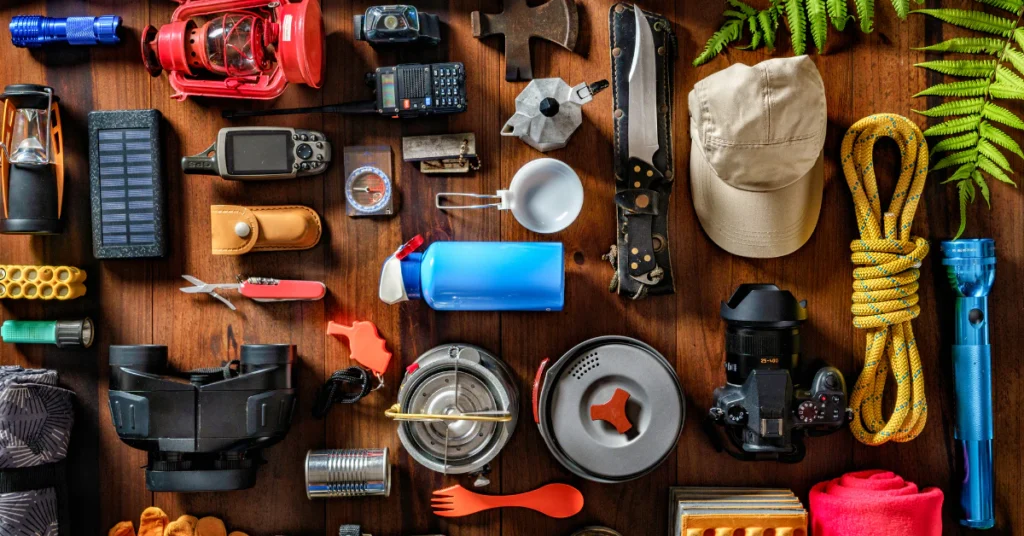
A hiking vacation is still a vacation. You want comfort. But you also want to be safe, and that means packing smart, not heavy.
The Ten Essentials: A Trusted Starting Point
You don’t need to guess what to pack. Outdoor experts have had a tested answer since the 1930s. The Mountaineers, an outdoor group based in Seattle, created the original “Ten Essentials” list to keep hikers prepared for emergencies. Decades later, it’s still the gold standard.
Here’s a simple version to build your pack around:
- Navigation (map, compass, or offline GPS app)
- Sun protection (sunglasses, sunscreen, hat)
- Extra clothing (layer for weather changes)
- Light source (headlamp or flashlight, with spare batteries)
- First aid supplies
- Fire starter (matches or lighter)
- Repair kit and tools (a basic knife works)
- Extra food
- Extra water (plus a way to purify more if needed)
- Emergency shelter (even a lightweight space blanket counts)
This list has survived almost a century of real hiker experience. If you’re short on ideas, start here and build out from your specific trip.
Stop Packing Your Fears
Here’s a mistake that trips up even experienced hikers. It’s called “packing your fears.” This means bringing extra gear not because you need it, but because you’re worried about every possible thing that could go wrong.
You’ve probably seen it before. Someone brings three jackets for a one-day hike. Or a full water filtration system for a short trail with plenty of water stops. The result is a heavier pack and a harder hike, all to prepare for problems that were unlikely to happen anyway.
The fix is simple. Match your gear to your actual trip, not your worst-case imagination. A short day hike doesn’t need the same gear as a week-long trek through the backcountry.
Test Everything Before You Go
Never bring brand-new gear straight into your trip without trying it first. This is one of the most common mistakes new hikers make, and it applies to more than just boots.
Set up your tent in your backyard. Test your headlamp batteries. Walk a short trail with your loaded pack on your back before the real trip starts. A quick test run at home can save you from discovering a problem miles from your car.
If you want more detail on building out a full gear and training plan before a trip, REI’s guide to backpacking conditioning is a solid, expert-reviewed resource.
Comfort and safety aren’t opposites on a hiking vacation. They work together when your pack matches your actual plan.
Food, Hydration, & Trail Safety
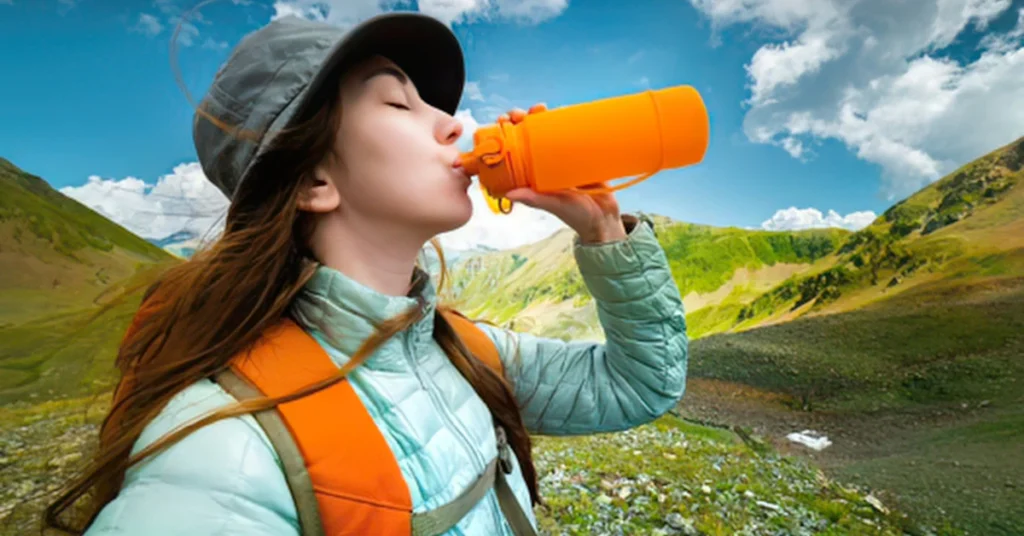
Hiking burns more energy than most people expect. Being prepared for the trail means knowing exactly how much fuel your body needs, and respecting the conditions you’ll face.
Eat More Than Feels Normal
The National Park Service puts it simply: eat about twice what you normally would on a hiking day. For multi-day trips, that often works out to around 3,000 calories a day, sometimes more if it’s cold out or the route climbs a lot.
This might feel like overeating. It isn’t. Your body is working hard, and running low on fuel leads to exhaustion fast. Pack calorie-dense snacks and eat them regularly, not just when you feel hungry.
Respect the Heat
Heat is one of the most serious risks on the trail, and the numbers prove it. At the Grand Canyon, officials say the park sees an average of one to two heat-related deaths every year. In one especially dangerous stretch, three hikers died from heat-related illness in a single week, when inner canyon temperatures climbed past 109°F in the shade.
Here’s the part that surprises most people. A study published in the journal PLOS One found that heat illness is actually more common during the spring and fall shoulder seasons than in peak summer. Hikers tend to underestimate the heat during these “milder” months, which makes them more careless.
The lesson is simple. Don’t let a cooler-sounding season fool you into skipping water, shade breaks, or sun protection. For trail-specific weather and safety alerts, the National Park Service’s trip planning pages are worth checking before you go.
Build In Real Breaks
Pushing through without stopping might feel efficient, but it backfires. Take a 10-minute break at least once every hour. This gives your legs time to recover and helps prevent exhaustion later in the day.
Know the Mule Rule
On some trails, you may share the path with pack mules. If you meet one, step off to the uphill side of the trail, away from the edge. Stay still and quiet. Don’t step back onto the trail until the last mule is at least 50 feet past you.
This isn’t just politeness. It keeps both you and the animals safe on narrow trail sections.
Bureaucracy & Budgets (Permits & Fees)
A multi-day hiking trip isn’t just about training and gear. It’s also about paperwork, and this part trips up more people than you’d think.
Permits Can Make or Break Your Plan
Many popular trails require a permit, and demand is often higher than the number of spots available. Parks handle this through lottery systems, usually run through Recreation.gov.
Yosemite offers a clear example of how strict these limits can be. The park caps exits over Donohue Pass on the John Muir Trail at just 45 people per day. Hikers compete for one of two specific permit types to get through. Miss out, and your whole route may need to change.
The takeaway is simple. If your trip depends on a specific trail, especially a well-known one, don’t wait until the last minute to apply. Permits can fill up or require multiple lottery attempts, and that’s time you don’t want to lose while you’re also trying to train and pack.
New Fee Changes for 2026
If you’re preparing for a multi-day hiking trip, it also pays to know the current cost of entry, especially if you’re traveling with international friends or family.
Starting January 1, 2026, fees are changing at 11 major U.S. national parks, including Grand Canyon, Yellowstone, Yosemite, and Zion. Here’s what’s new:
- The “America the Beautiful” annual pass for non-U.S. residents rises from $80 to $250
- Non-U.S. residents without that pass will pay a new $100 per-person surcharge, on top of the regular entrance fee, at those 11 parks
- Free entrance days are now limited to U.S. residents only
U.S. residents keep the current $80 annual pass price. But if your hiking group includes visitors from outside the country, this is a cost worth planning for ahead of time, not discovering at the gate.
Budgeting for permits and fees isn’t the exciting part of trip planning. But skipping it is one of the fastest ways to turn a well-trained, well-packed trip into a frustrating day at the trailhead.
Trail Navigation & Tech
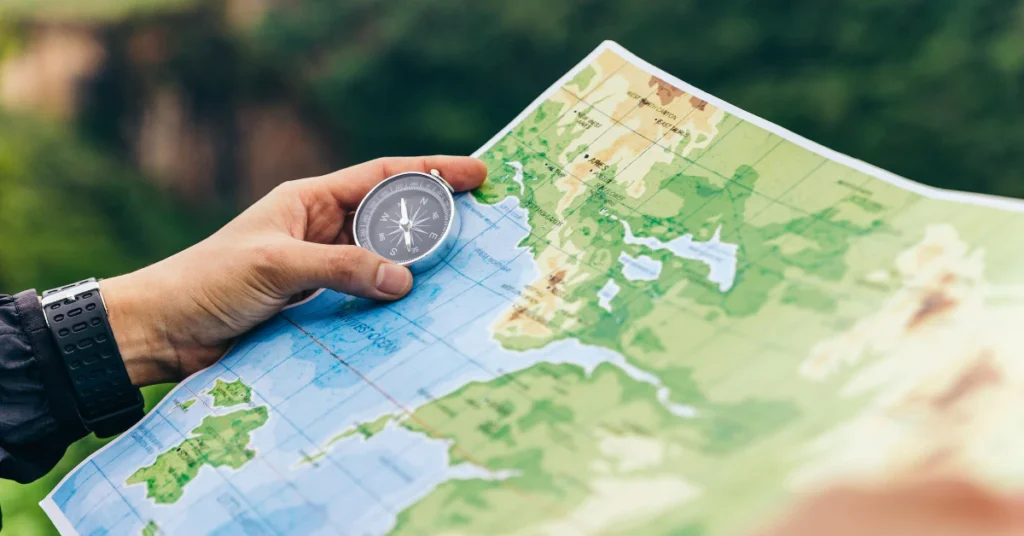
Cell signal disappears fast once you’re deep on a trail. That’s why smart hikers plan their navigation before they lose service, not after.
Why Offline Maps Matter
Download your trail map before you leave cell range. Most hiking apps let you save maps for offline use, so you can still see your route even with zero bars. This single step prevents a huge number of “lost on the trail” stories.
AllTrails is the most widely used hiking app for this. It’s worth knowing what each tier actually offers before you commit.
AllTrails Pricing Breakdown
| Tier | Price | Best For |
| Free | $0 | Basic trail browsing and maps |
| AllTrails+ | $35.99/year (or $4.99/month) | Offline maps, wrong-turn alerts |
| AllTrails Peak | $79.99/year | Everything in Plus, plus advanced trip planning tools |
If you only hike a few times a year, the free version may be enough. If you’re planning a real multi-day trip, AllTrails+ is the tier most hikers find worth the cost, mainly for the offline maps and alert features.
Check Conditions Before You Go
Apps are helpful, but they’re not a replacement for official trail updates. Always check current conditions through the park’s own website before your trip. Trails close, wash out, or change without much warning, and an app update can lag behind reality.
Frequently Asked Questions
How long does it take to break in hiking boots?
It depends on the material. Synthetic trail shoes usually need 5 to 20 miles to feel comfortable. Full-grain leather boots take much longer, often 30 to 100 miles, so start wearing them weeks before your trip.
How much food should I bring on a multi-day hike?
Plan for about 3,000 calories a day. That’s roughly double what most people eat on a normal day, and your body needs that extra fuel to keep going.
How do I get a backcountry permit?
Apply well ahead of time, ideally months before your trip. Many popular trails use a lottery system through Recreation.gov, and some, like certain Yosemite routes, have strict daily limits. Waiting until the last minute often means missing out.
Is the National Parks pass worth it in 2026?
For U.S. residents, yes. The annual pass stays at $80. But if you’re traveling with non-U.S. residents, be aware that their annual pass price jumps to $250, and a new $100 per-person surcharge applies at 11 major parks starting January 1, 2026.
Why is hiking down a mountain harder than going up?
Going downhill puts more stress on your joints, and it’s easy to move too fast and tire yourself out early. Plan for about one-third of your time going down and two-thirds coming back up, especially on steep trails like those in the Grand Canyon.
What do I do if I see mules on the trail?
Step off the trail on the uphill side, away from the edge. Stay quiet and still, and don’t move again until the last mule is at least 50 feet past you.
Conclusion
Getting ready for a hiking trip doesn’t have to be complicated. Train your body with real lead time when you can, or triage smart when you can’t. Test your gear before the trail tests it for you. Eat more than feels normal, respect the heat, and give yourself enough time for permits and fees. None of these steps are hard on their own. Put together, they’re the difference between a trip you brag about and one you just survive. You’ve got the plan now. Go put it to work.